

Elastic Security: Secure my hosts with endpoint security
Overview
Introduction to Elastic Security
Elastic Security is a unified security solution that brings together SIEM, endpoint, and cloud security into a single platform. This makes it easier to protect, investigate, and respond to security events from all parts of your environment.
In this guide below, you’ll learn how to get started with Elastic Security for Endpoint so you can protect your hosts from malware, ransomware and more.
Let's get started
Create an Elastic Cloud project
Get started with a 14-day trial. Once you go to cloud.elastic.co and create an account. Be sure to select Security with Elasticsearch then SIEM and Security Analytics. In addition, you should select if you're migrating data from somewhere (for the purpose of this guide we'll select "no"), your preferred cloud regions then when you create your first project.
Before you get started with Elastic Security for Endpoint, make sure you've set up your deployment for Elastic Security for SIEM solution first. If you haven't, check out the Elastic Security for SIEM getting started guide.
Once you select View Assets, you'll be brought to the below screen within the following screen.
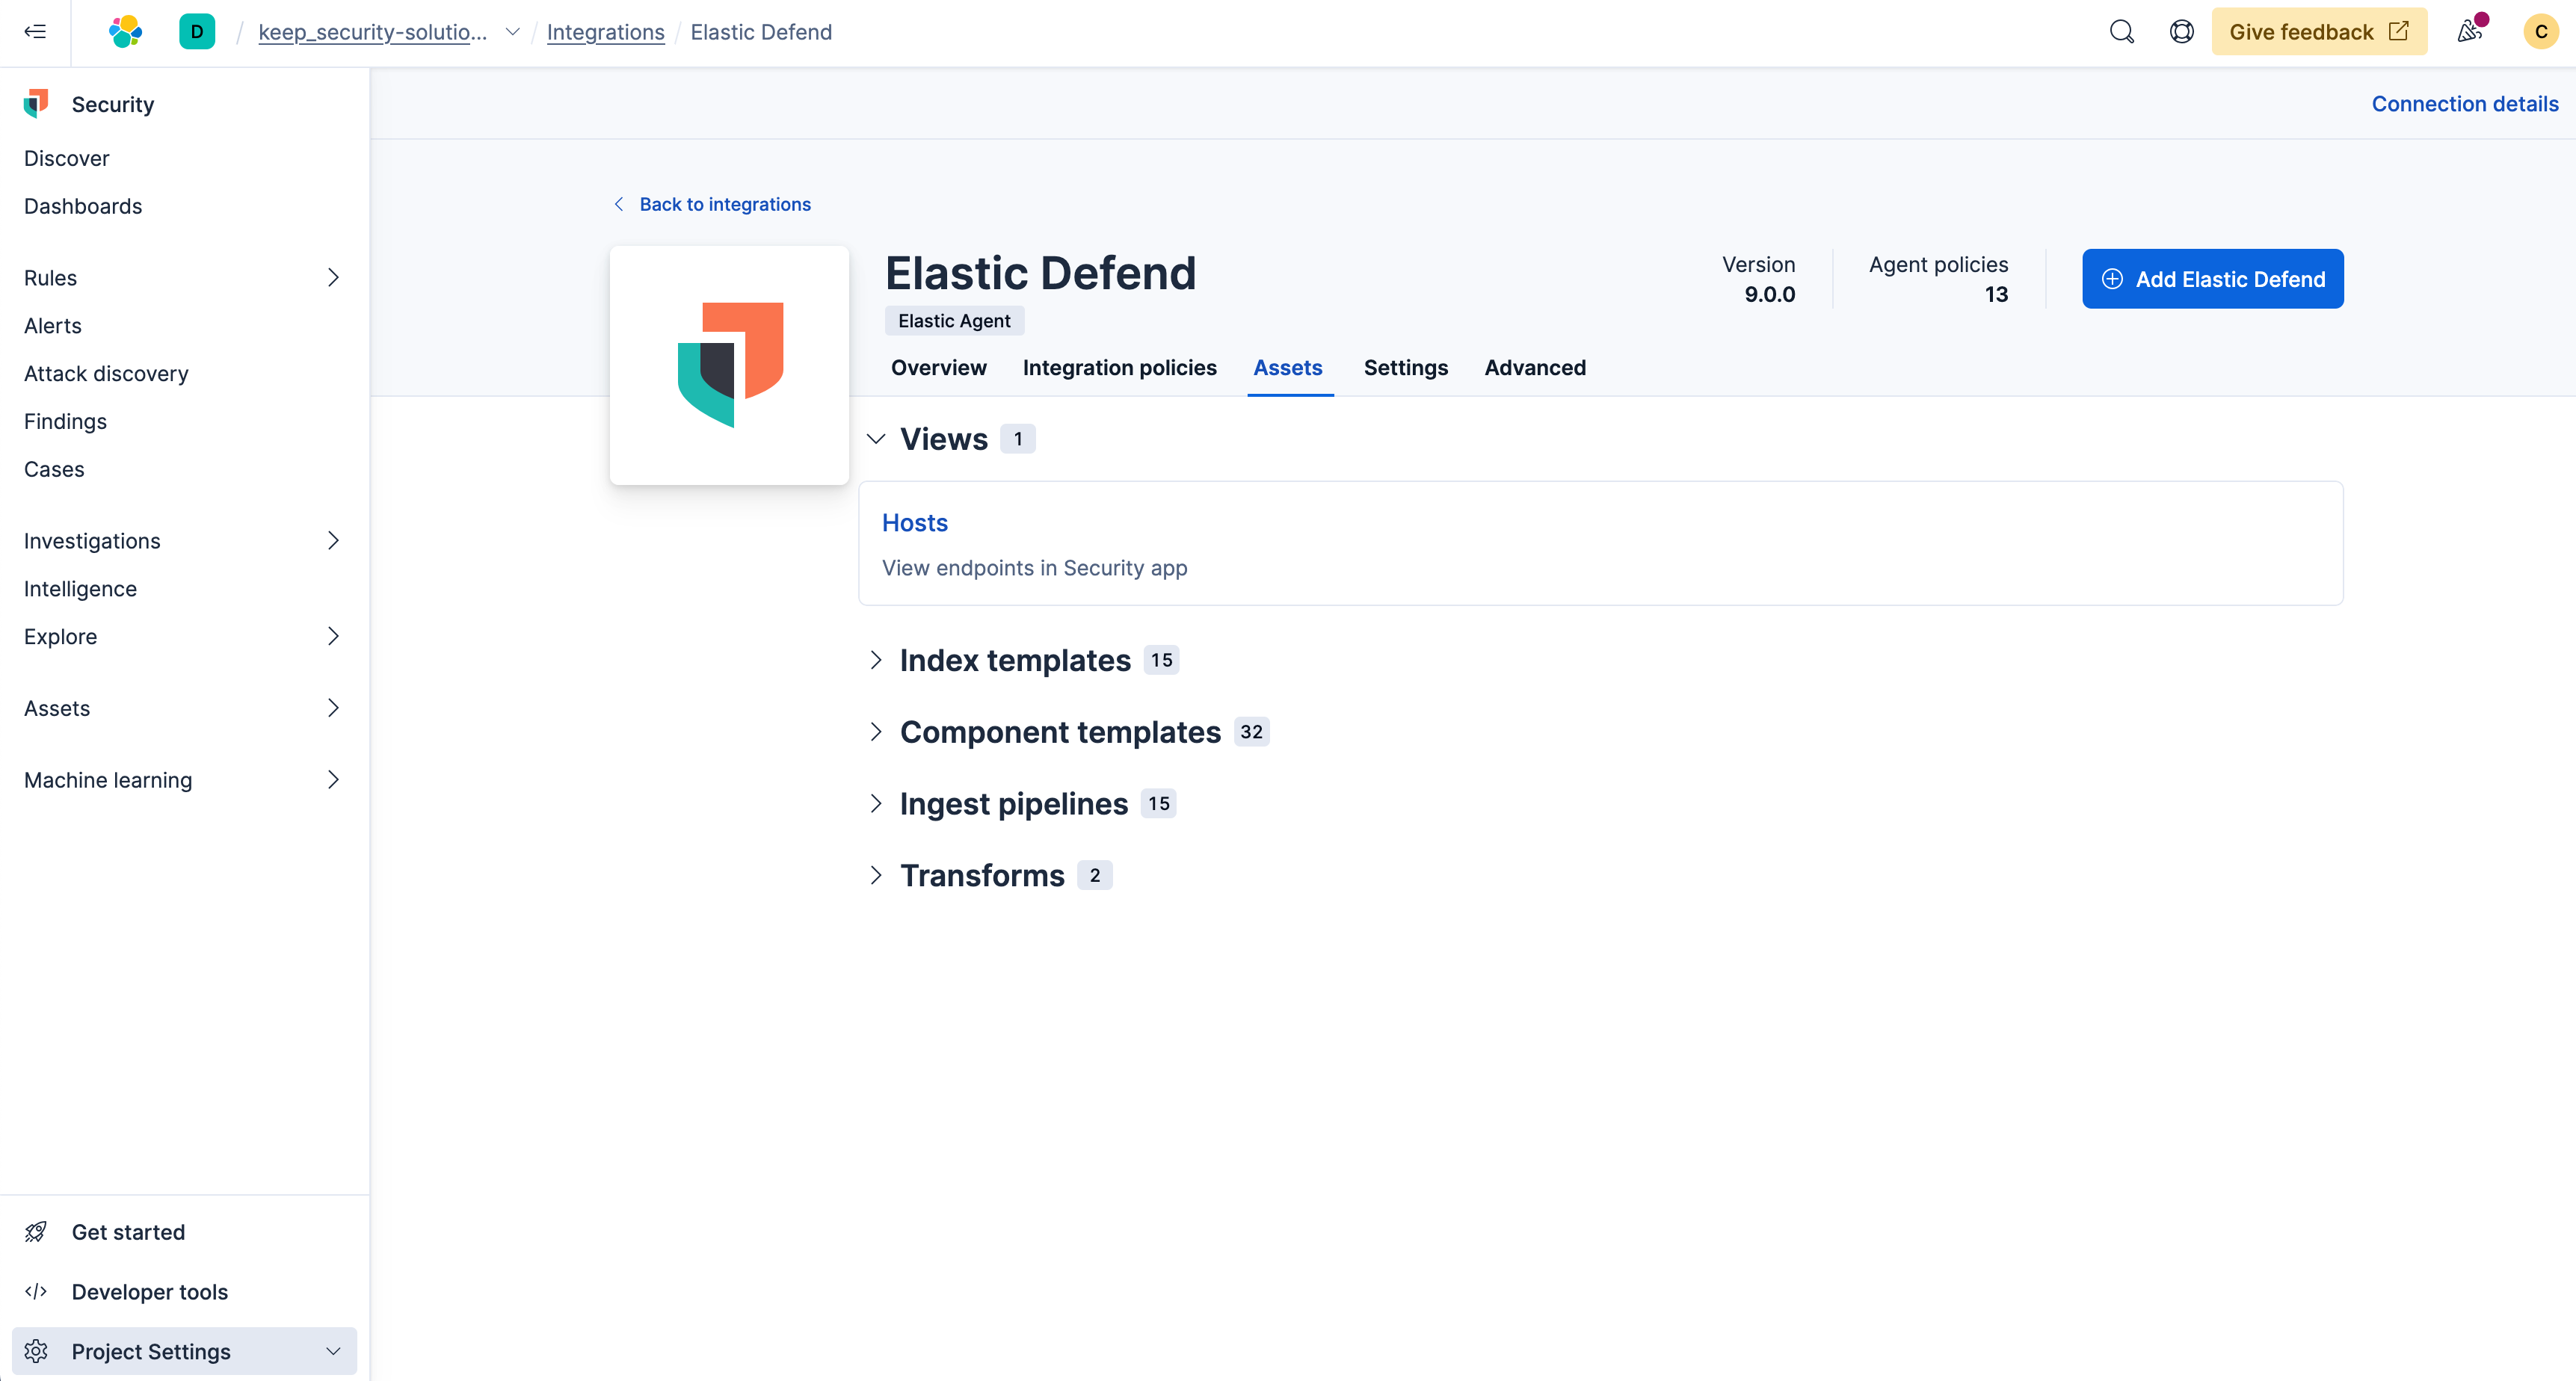
Next you'll select Hosts which will bring you to the endpoint list within Elastic Security.
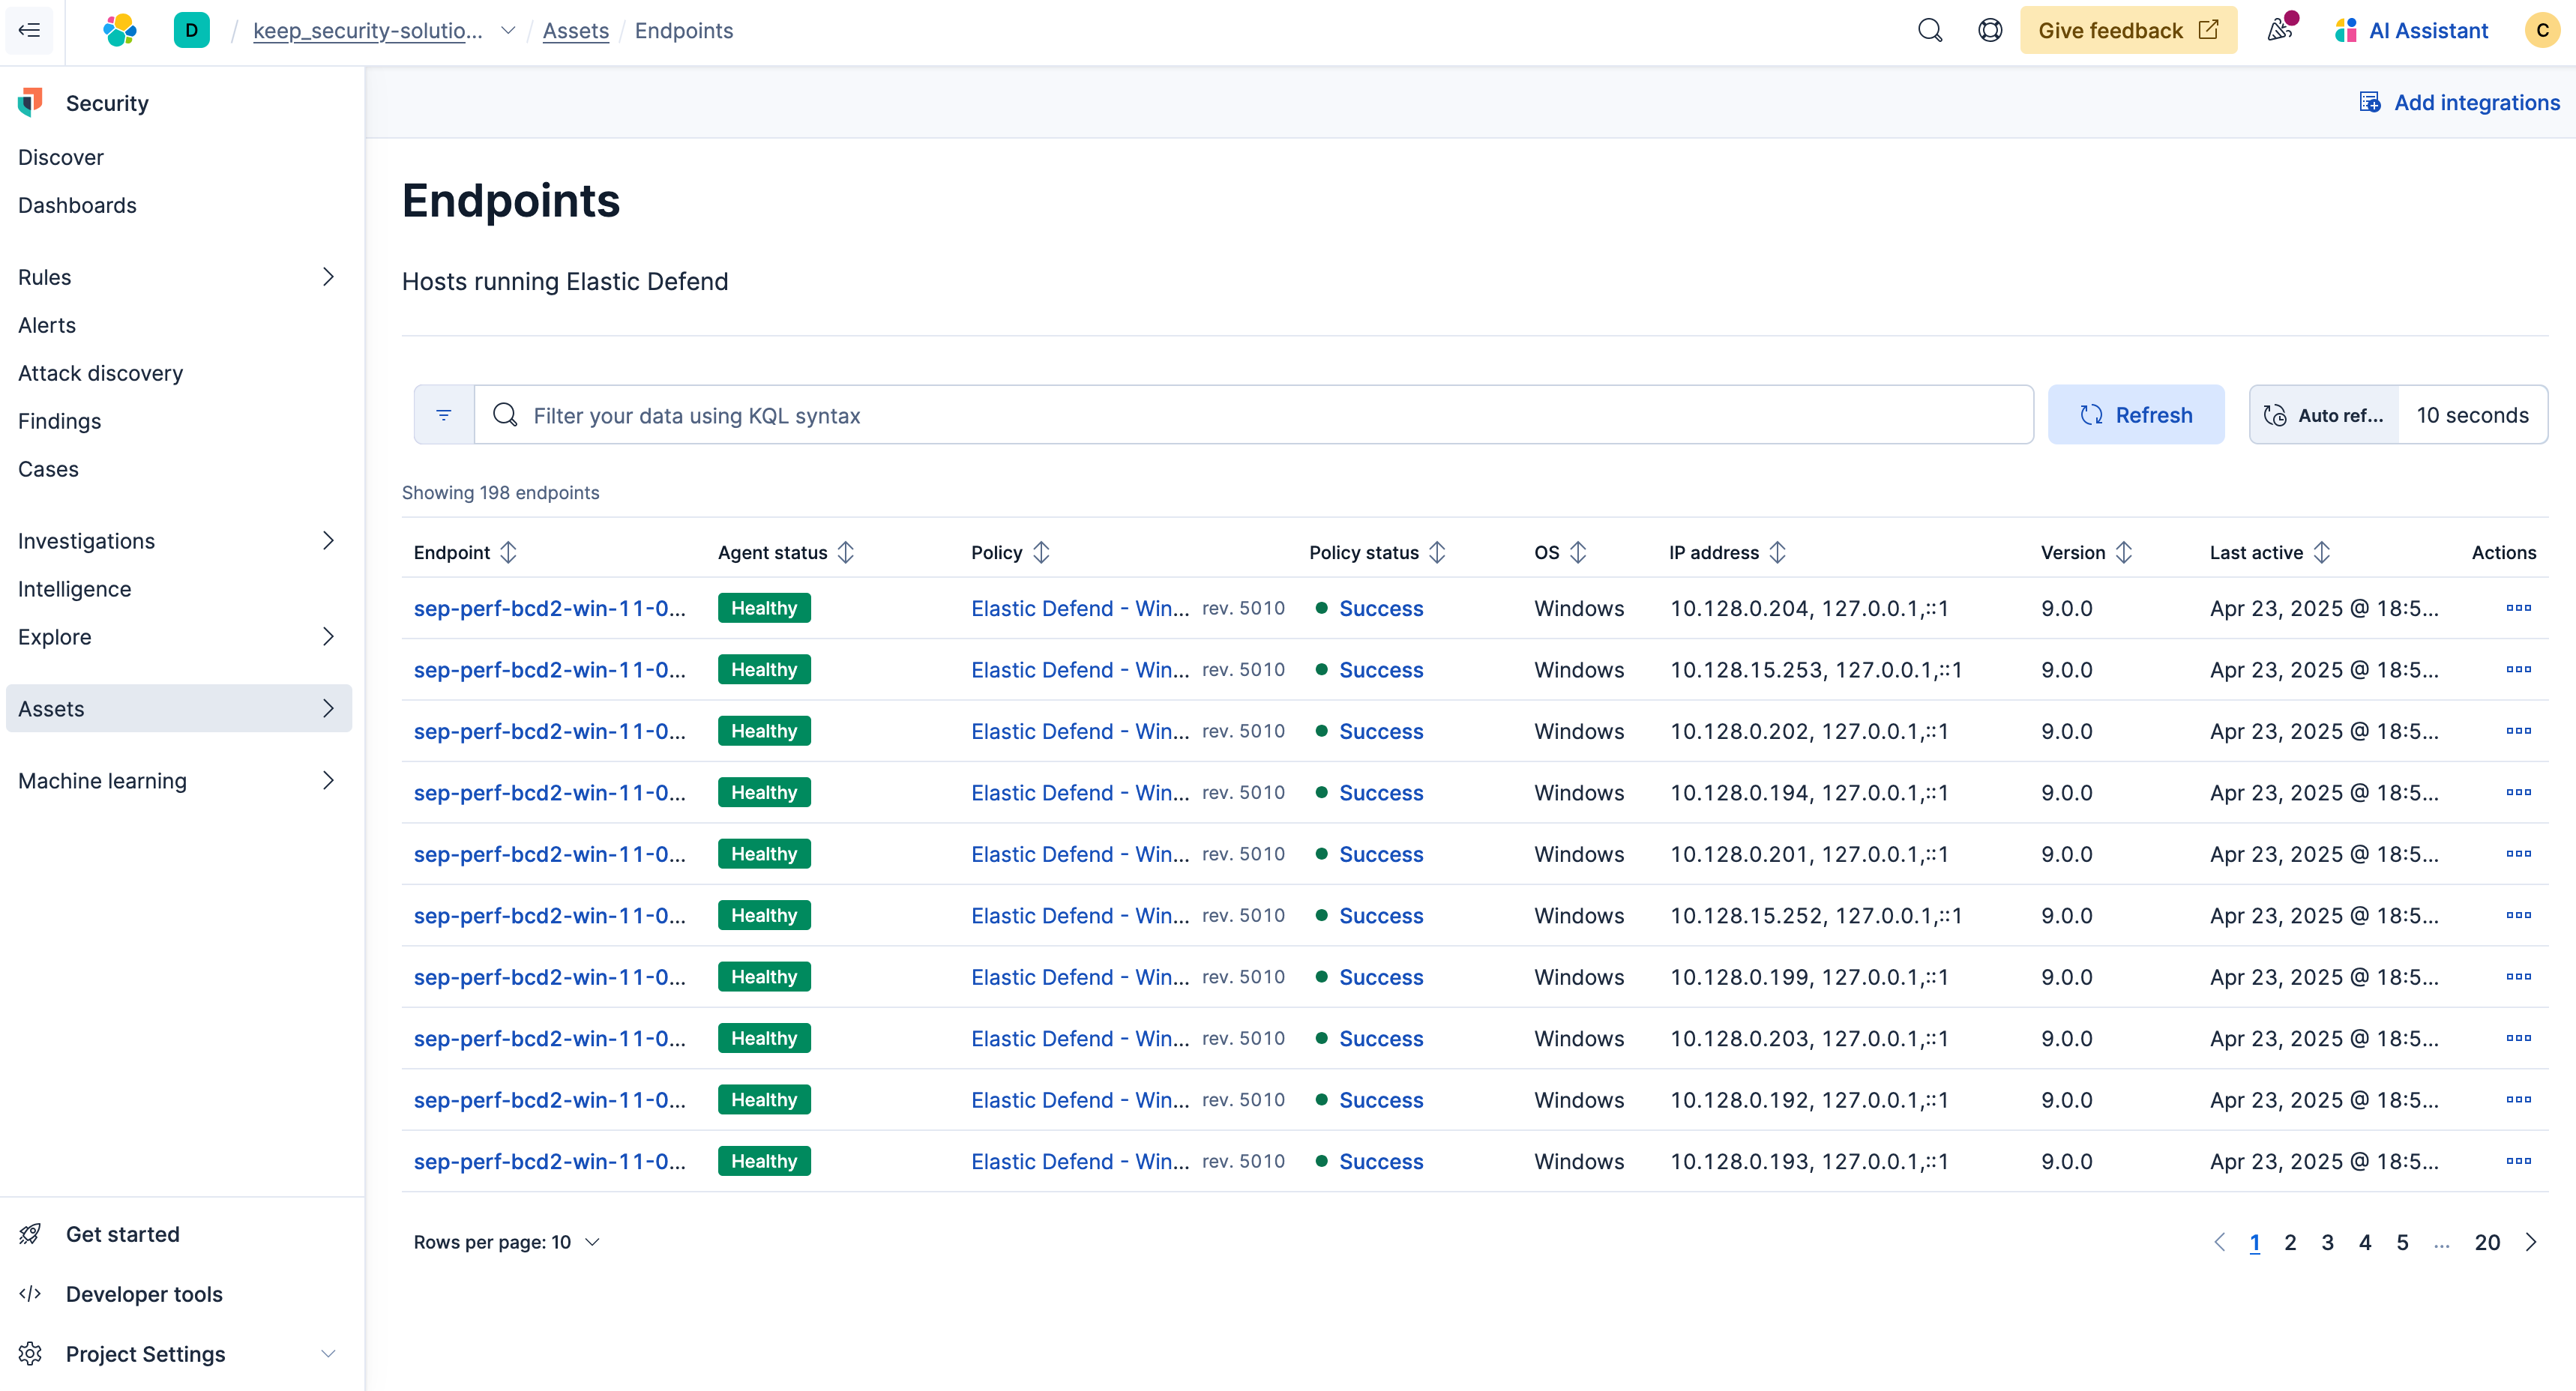
Next you'll configure the policies for your endpoint. Simply click Elastic Defend by your chosen endpoint.
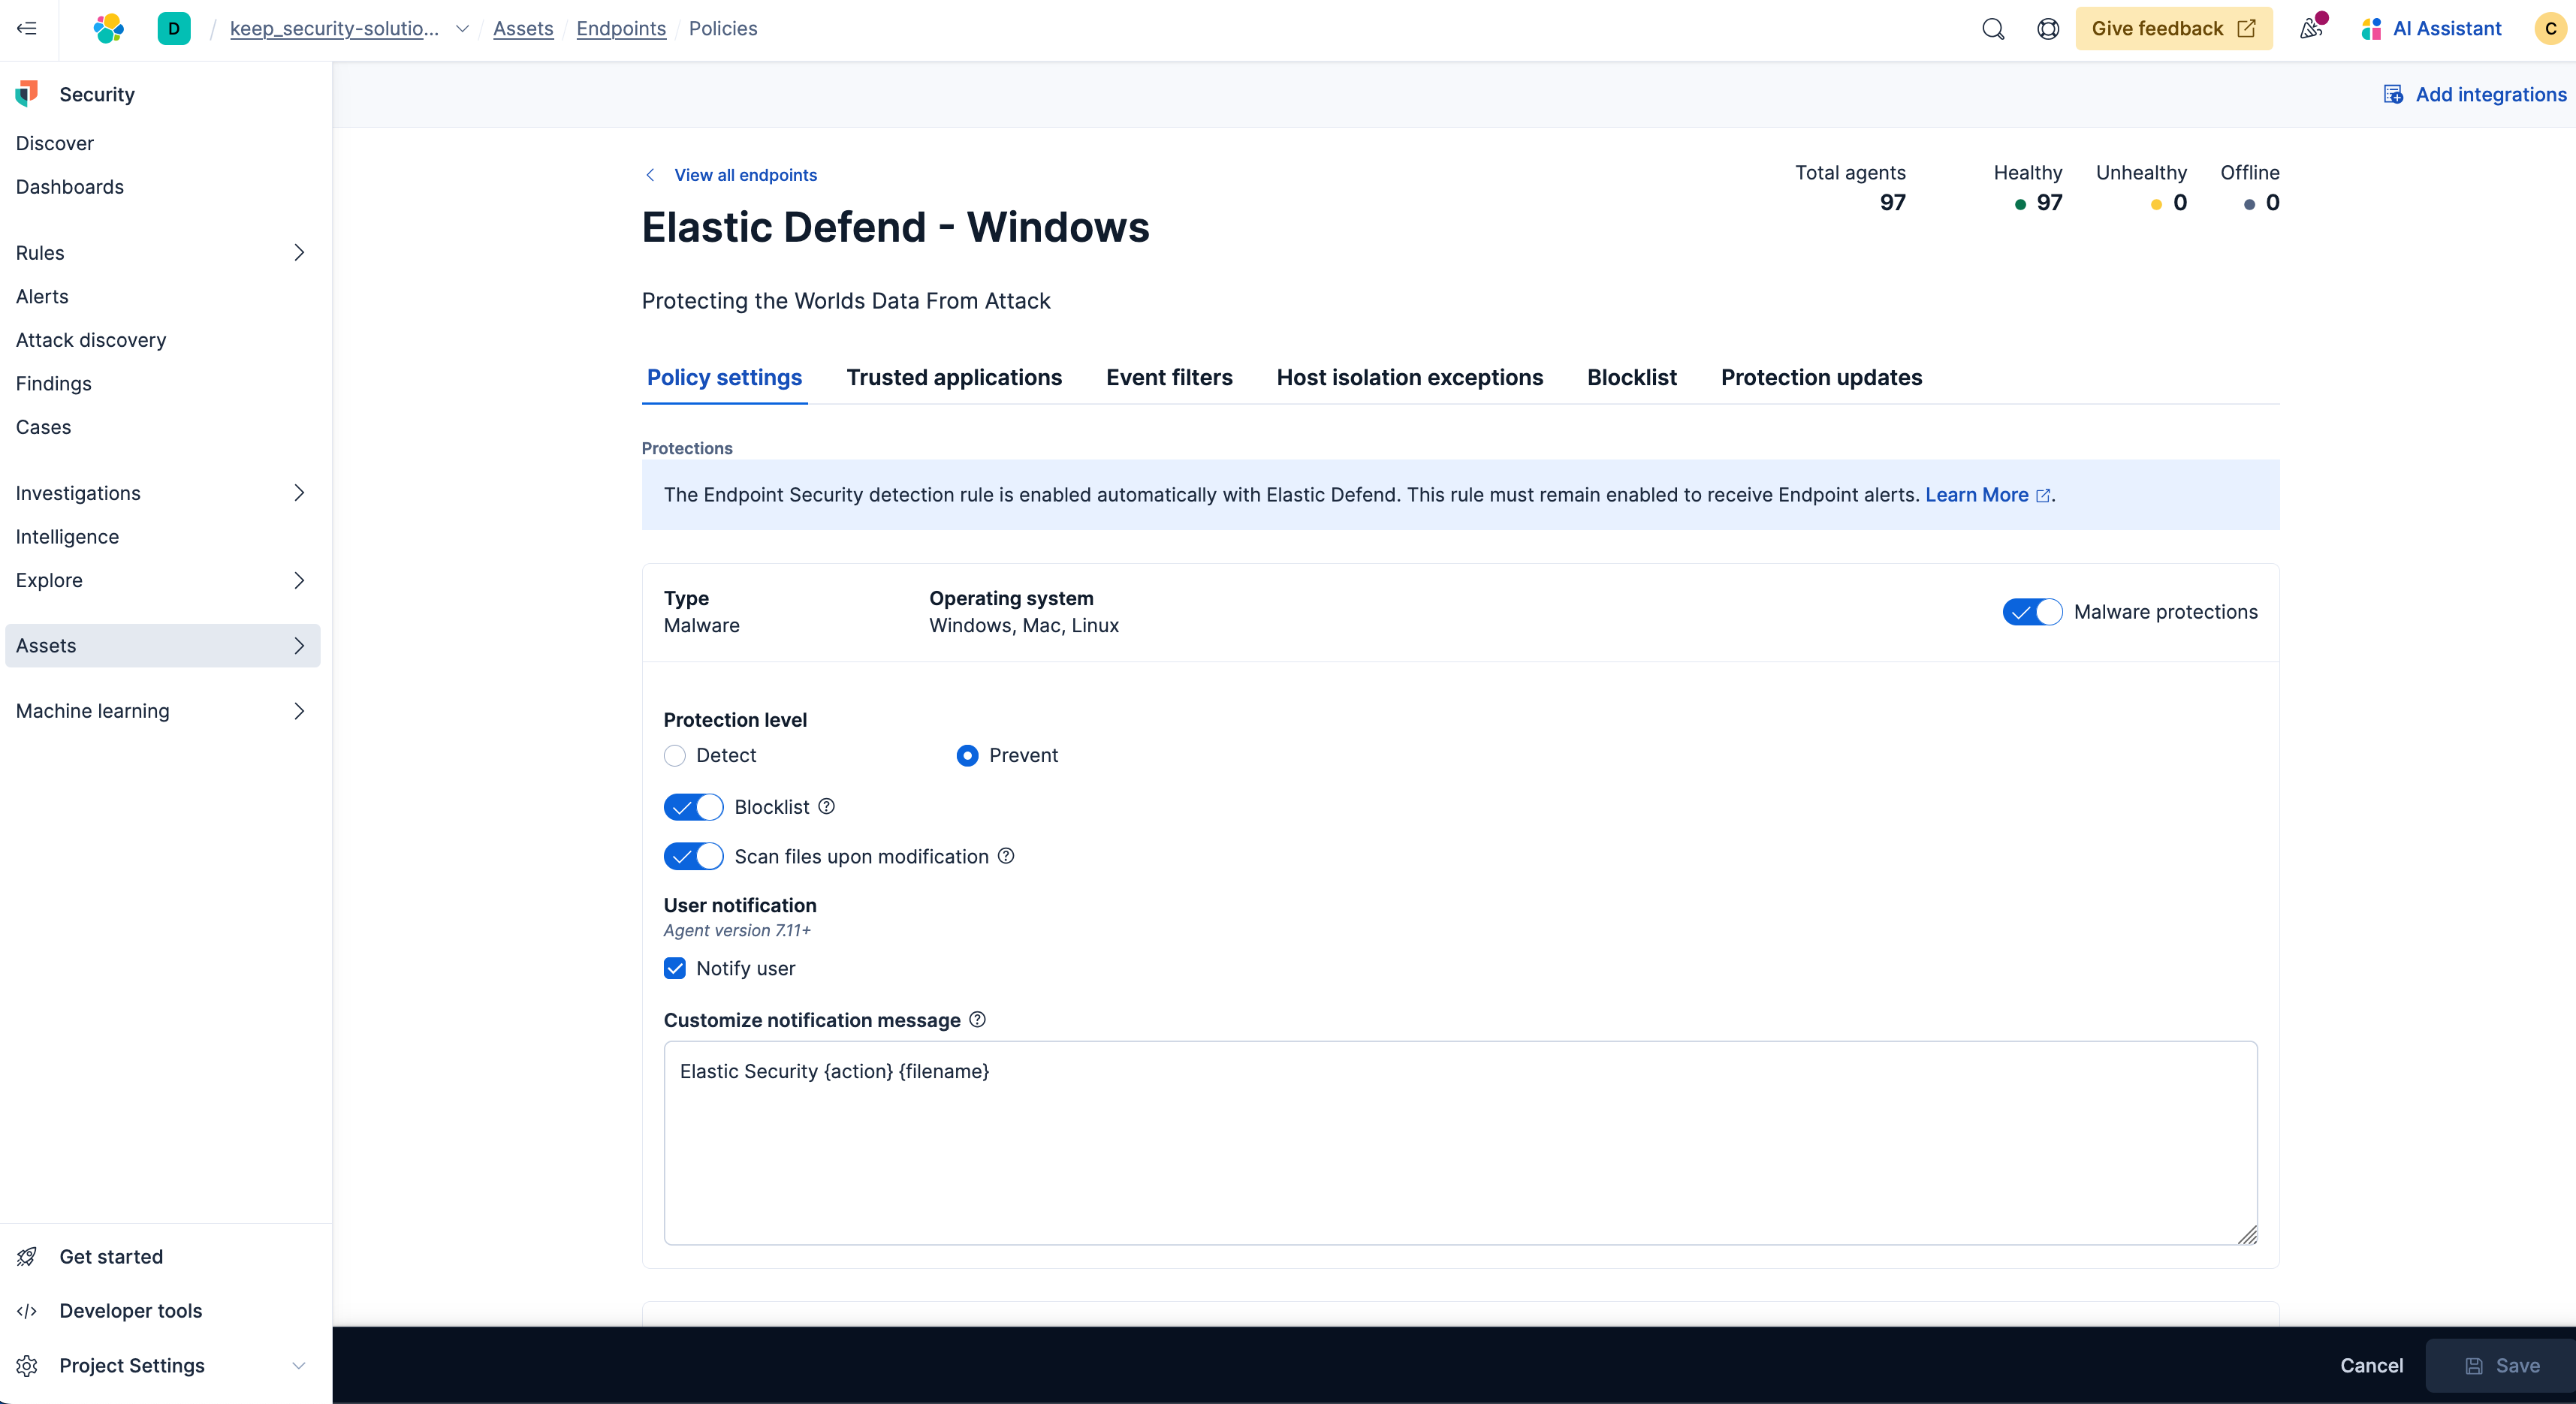
To take advantage of the complete endpoint detection and response (EDR) capabilities, from here, along the right, simply enable the following protections in your policy:
- Malware protections
- Ransomware protections
- Memory threat protections
- Malicious behavior protections
For more information on configuring your Elastic Defend policy check out our documentation.
Then select Save and you're ready to start exploring your data.
Working with Elastic Security for Endpoint
Automate troubleshooting
Prior to getting started with automating troubleshooting ensure you know how to do the following view and analyze your data using dashboards as well as configure alerts.
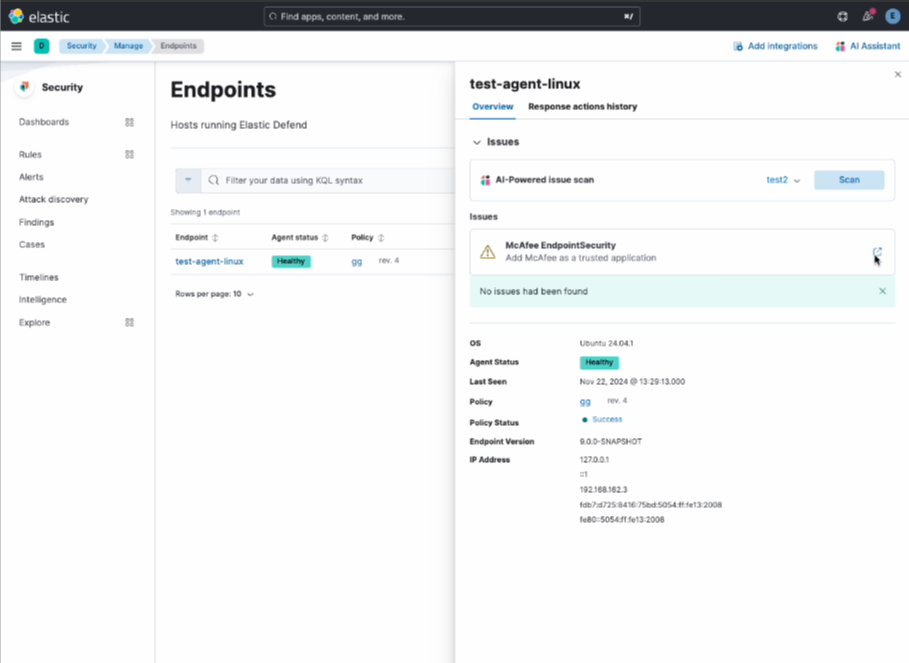
Next, when you automate troubleshooting you're able to deconflict to understand how things are running. Simply select the endpoint name and a flyout will appear. Choose your preferred connector and click Scan.
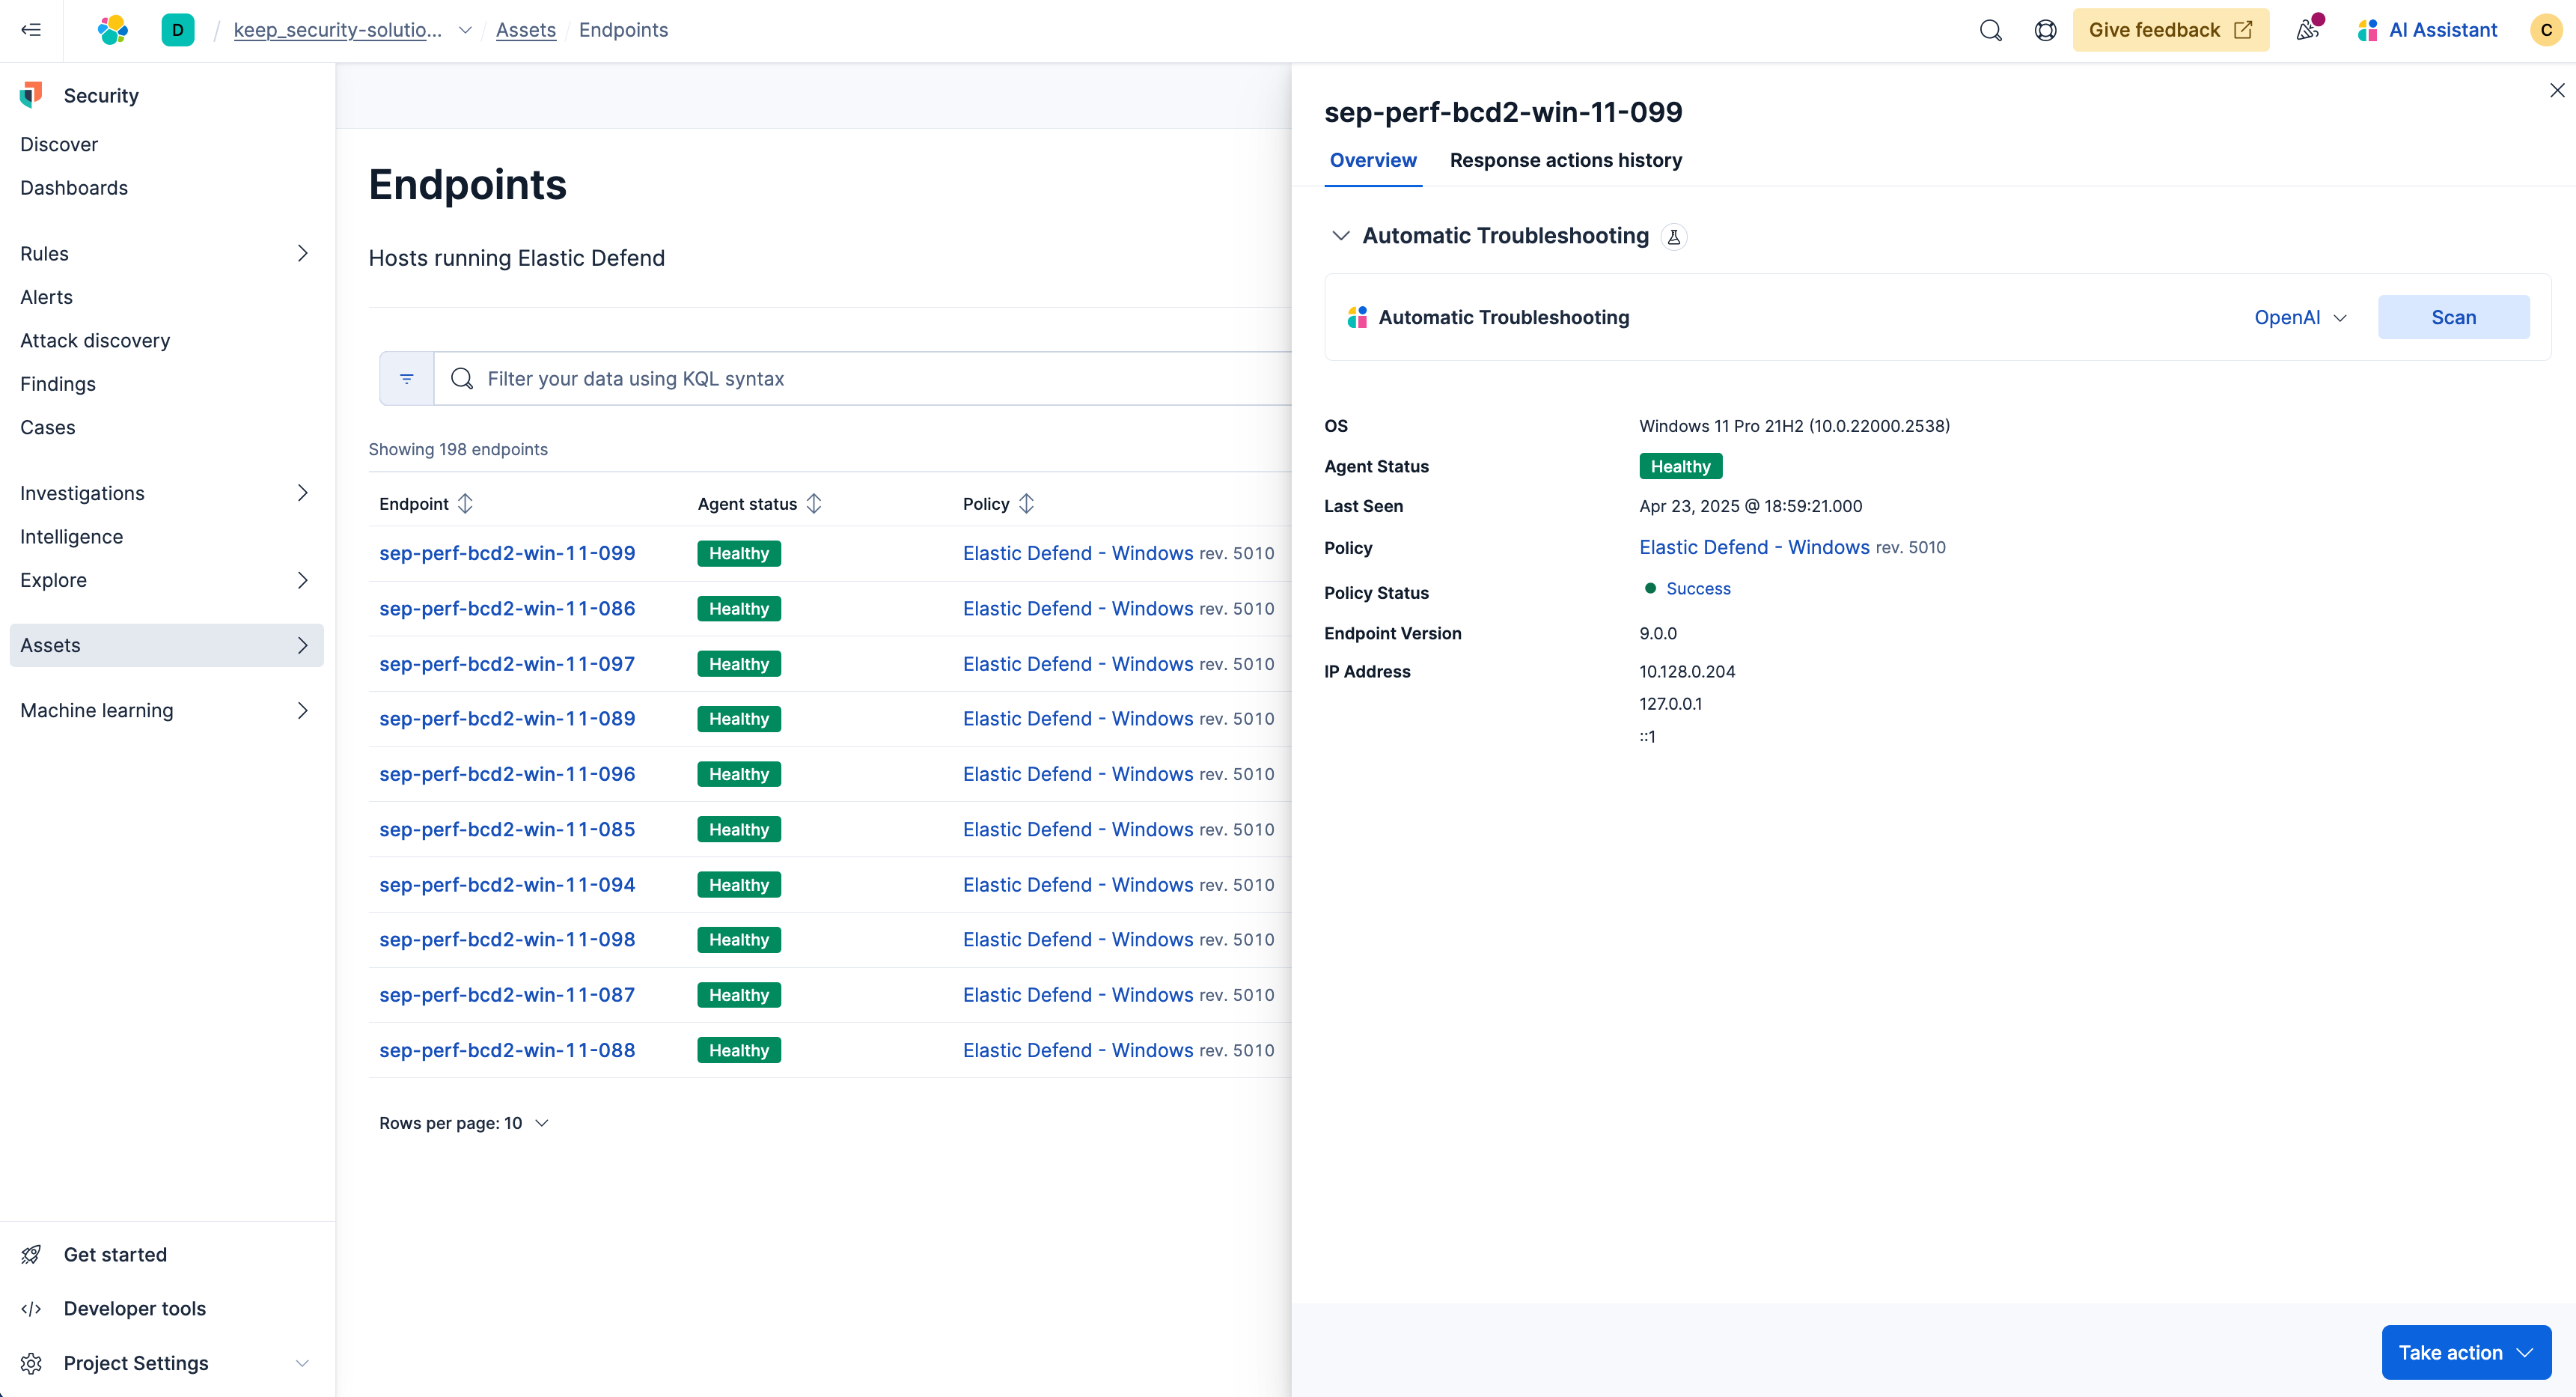
You'll see another application that's running on your hosts. Here, McAfee is conflicting with Elastic Security, thus, you want to accept it as a trusted application.
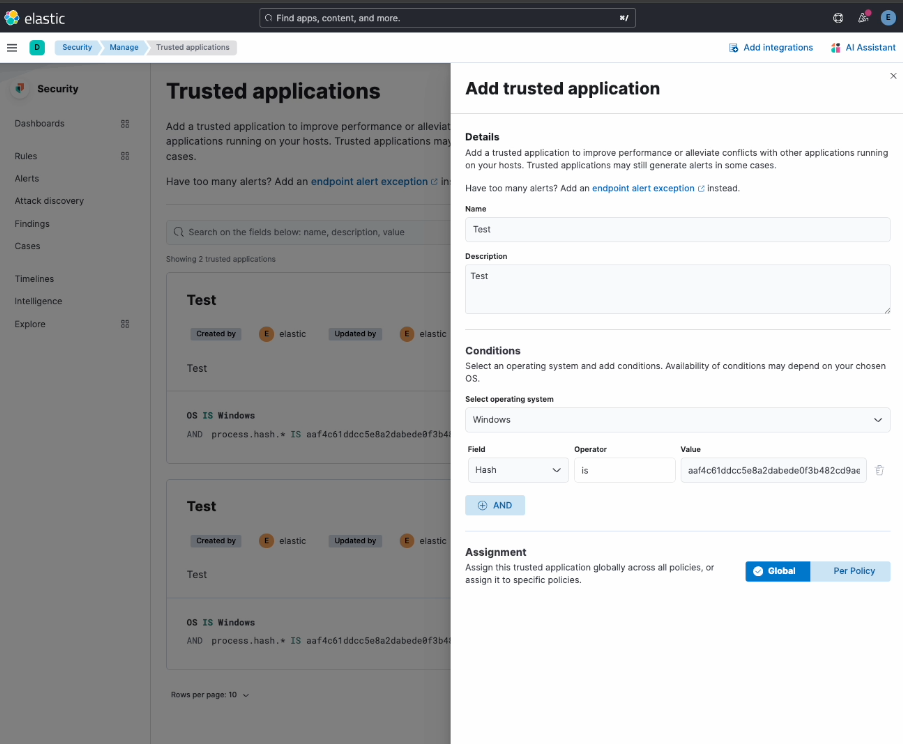
Once you select the application you're brought to the Trusted Application form with a flyout. Here you can fill out the necessary information and select Add trusted application.
Investigate and hunt
Elastic is the platform of choice for threat hunting and incident investigation. Let's put it to the test with your data. Use the following resources to perform your own investigations — from initial triage to closing a case.
Next steps
Thanks for taking the time to get started with Elastic Security for endpoint. As you begin your journey with Elastic, be sure to understand some operational, security, and data components you should manage as a user when you deploy across your environment.
Ready to get started? Spin up a free 14-day trial on Elastic Cloud or try out these 15-minute hands-on learnings on Security 101.